how to draw a peace sign
Drawing a human hand is difficult even when in fairly simple relaxed poses. This difficulty gets increased even more when drawing something like a peace sign.
This can make learning how to draw a peace sign a frustrating endeavor as even seasoned artists struggle with the finger posing.
The good news is that it can be made much easier if you have a guide to follow, and this one is here to help you. By the end of this guide, you'll be able to draw a peace sign easily!
This step-by-step guide on how to draw a peace sign will ensure that you can draw this tricky subject in peace!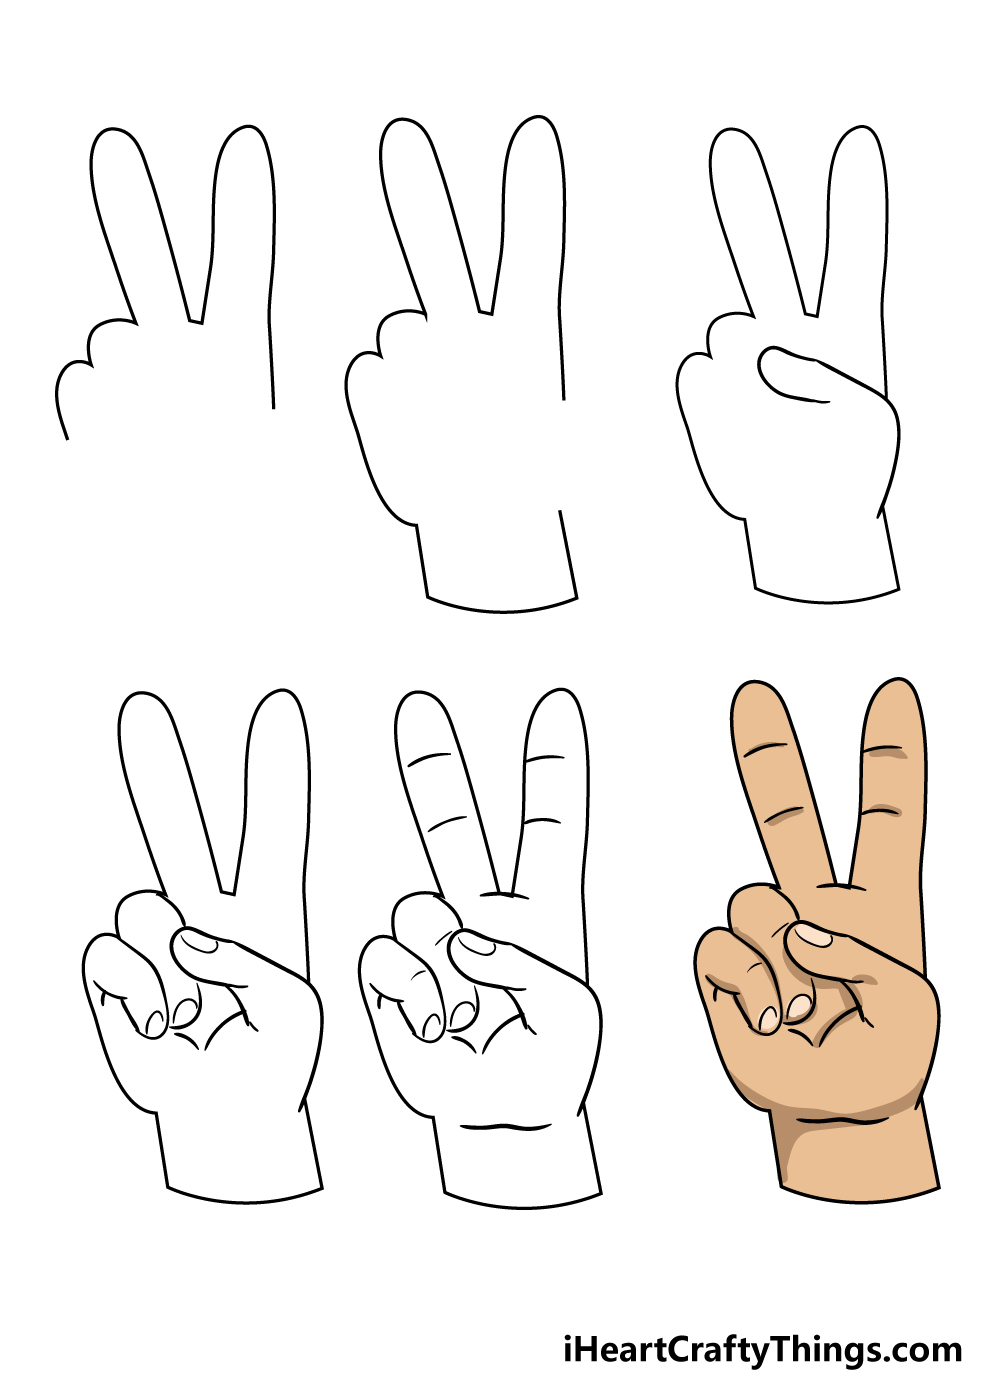
What's in this Blog Post
- How to Draw A Peace Sign – Let's get Started!
- Step 1
- Step 2 – Draw the wrist of the hand
- Step 3 – Now, we shall draw a thumb for your peace sign drawing
- Step 4 – Draw some more of the fingers on the hand
- Step 5 – Now, you can add some final details to your peace sign drawing
- Step 6 – Finish off your peace sign drawing with some color
- Your Peace Sign Drawing is Complete!
How to Draw A Peace Sign – Let's get Started!
Step 1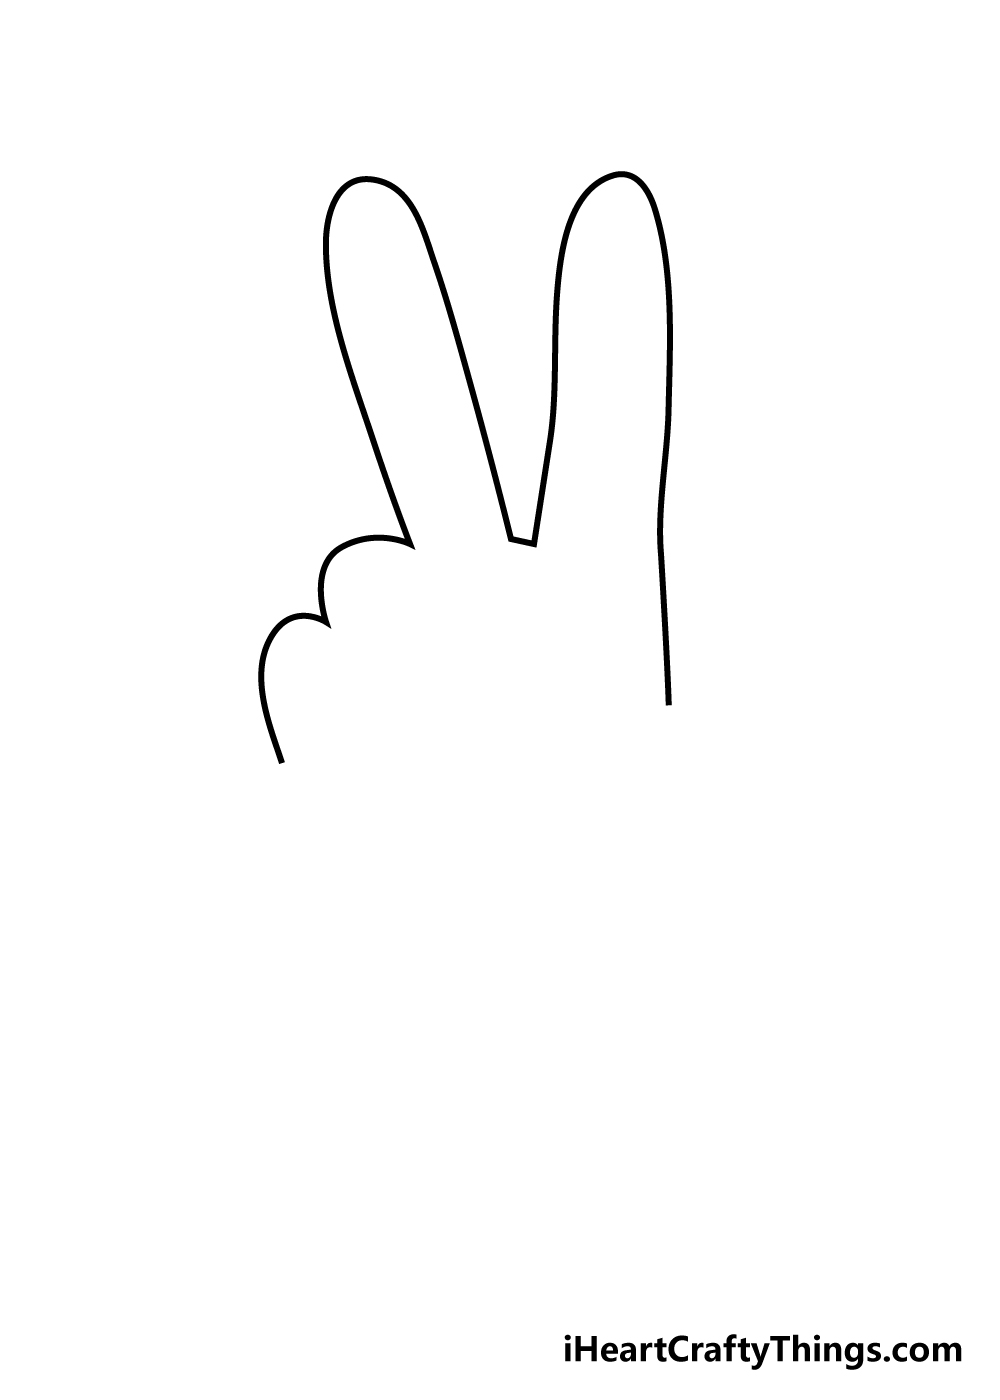
As we mentioned in the introduction, drawing hands can be frustrating and difficult in the best of times, as it can be a challenge to get fingers looking accurate.
To make things easier in this guide on how to draw a peace sign, we shall take it step by step and break it down into simple shapes and lines.
The main focus of this first step will be the middle and index fingers which are extended out to make the peace sign.
To draw these, you can start with some curved, long lines that connect to each other.
As you can see in the reference image, these two fingers will be around the same length.
The right-hand side of the hand will be quite straight, whereas the left side will have two bumps for the knuckles of the next two fingers.
Step 2 – Draw the wrist of the hand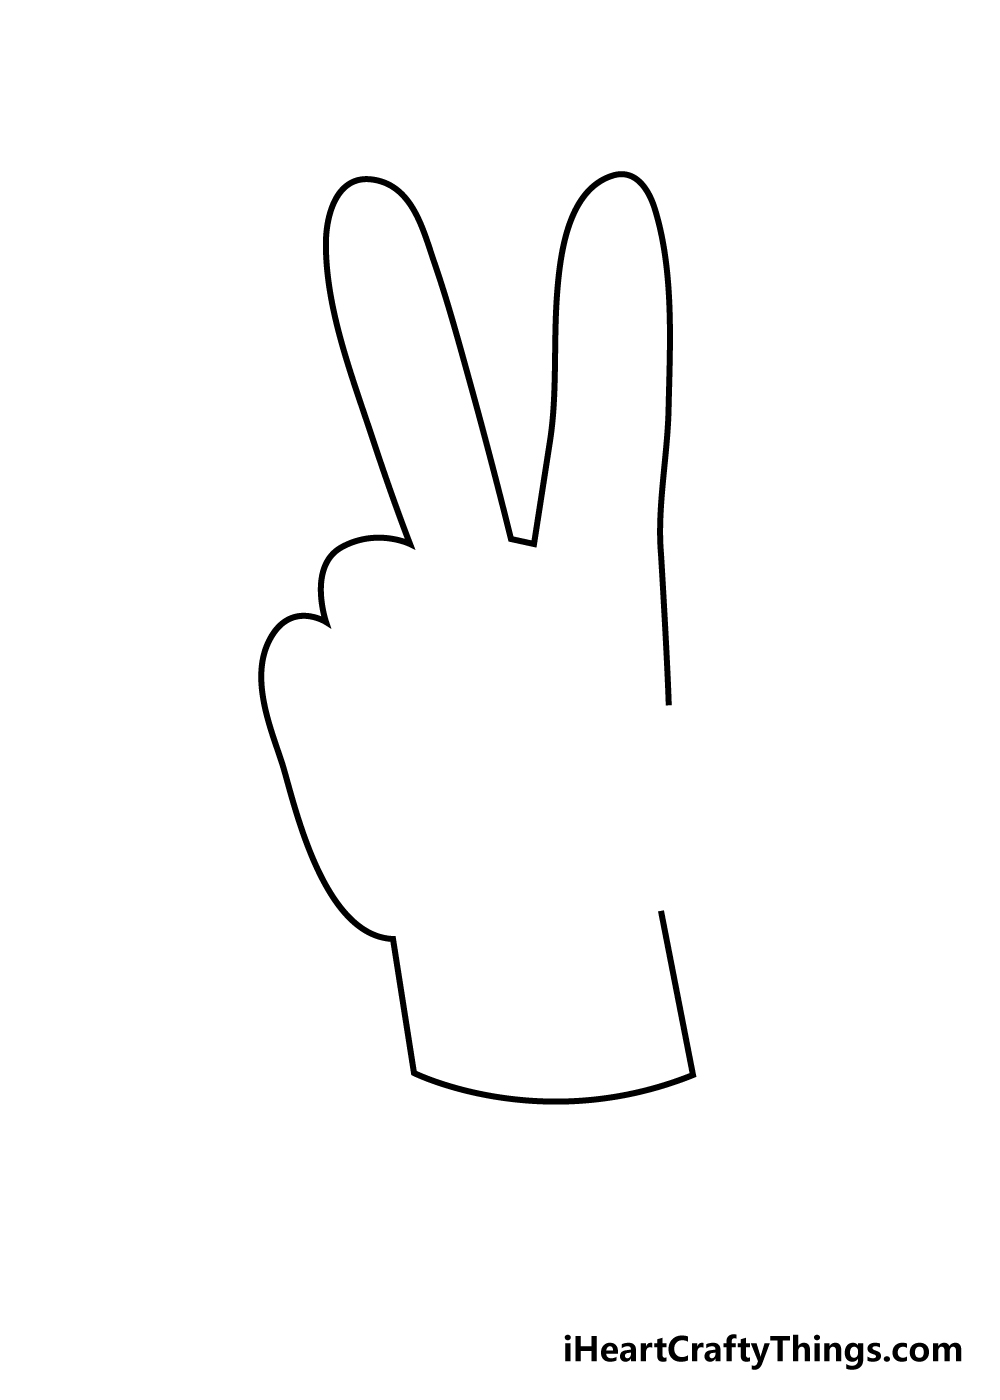
You have some of the finger outlines drawn, so now you can focus on the side of the palm and the wrist of your hand.
First, use a slightly curved line coming down from the two knuckle bumps that you drew in the previous step. This will form the left-hand side of the palm.
The wrist can then be drawn with some mostly straight lines coming down from the palm, going horizontally to cut it off and then finally vertically back towards the hand.
The line where the hand is cut off at the wrist can also be changed to fit your preference. You could leave that line off or have a curved line instead if you prefer.
Step 3 – Now, we shall draw a thumb for your peace sign drawing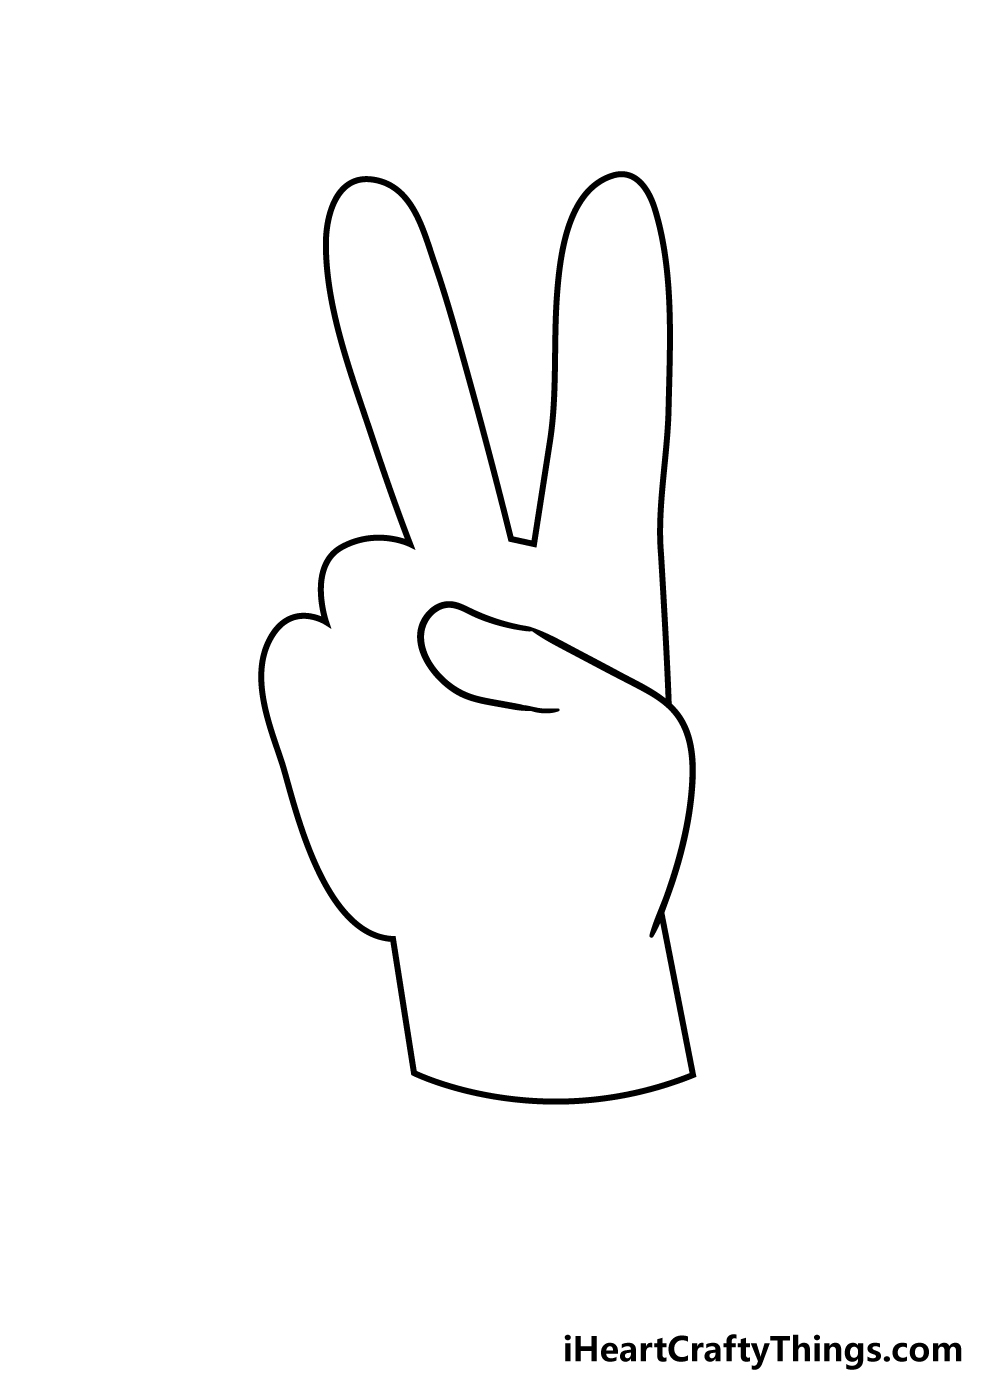
You're making some great progress in this guide on how to draw a peace sign! Continuing on, we shall show you how you can add a thumb to the hand.
You will be using a lot of curved lines for this element, and the first one will go in the space on the right that you left between the index finger and the wrist.
This will then extend further into the hand where it will curve in on itself to make the tip of the thumb. With that, we can continue building onto the finger designs in the next few steps
Step 4 – Draw some more of the fingers on the hand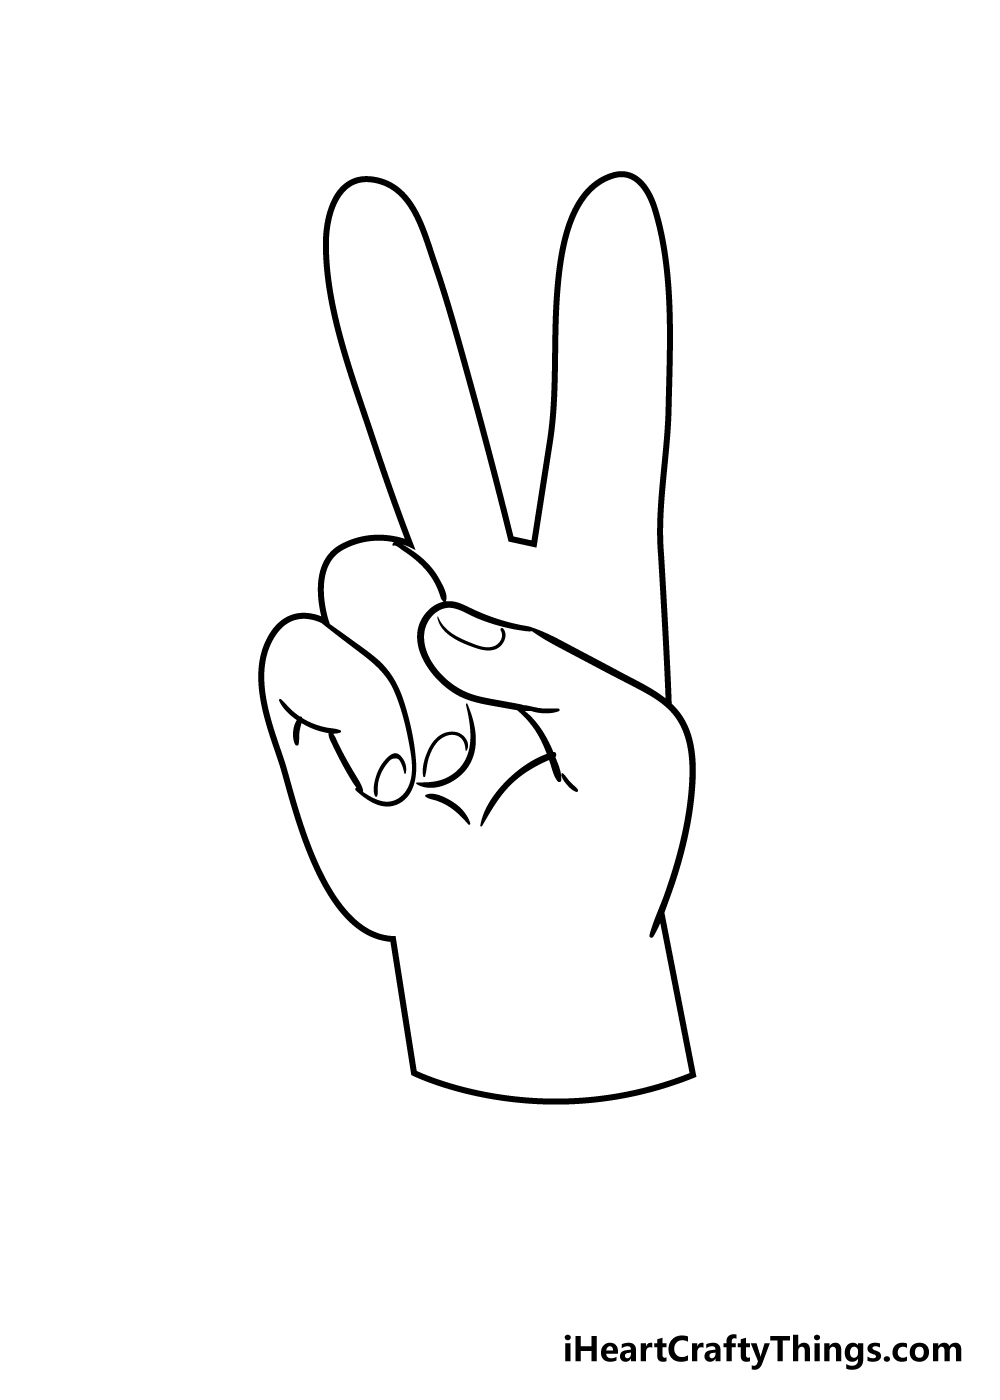
We shall leave the thumb of your peace sign drawing for the time being and go back to focus on the other fingers.
You can use more curved lines that extend down from the knuckle bumps you drew earlier. The finger on the right will go under the thumb, as you can see in the reference picture.
We haven't been drawing nails on most of the fingers, but due to the angle of these ones you can draw some fingernails on them.
Finally, add some lines to the palm going towards the fingers for some extra detail.
Step 5 – Now, you can add some final details to your peace sign drawing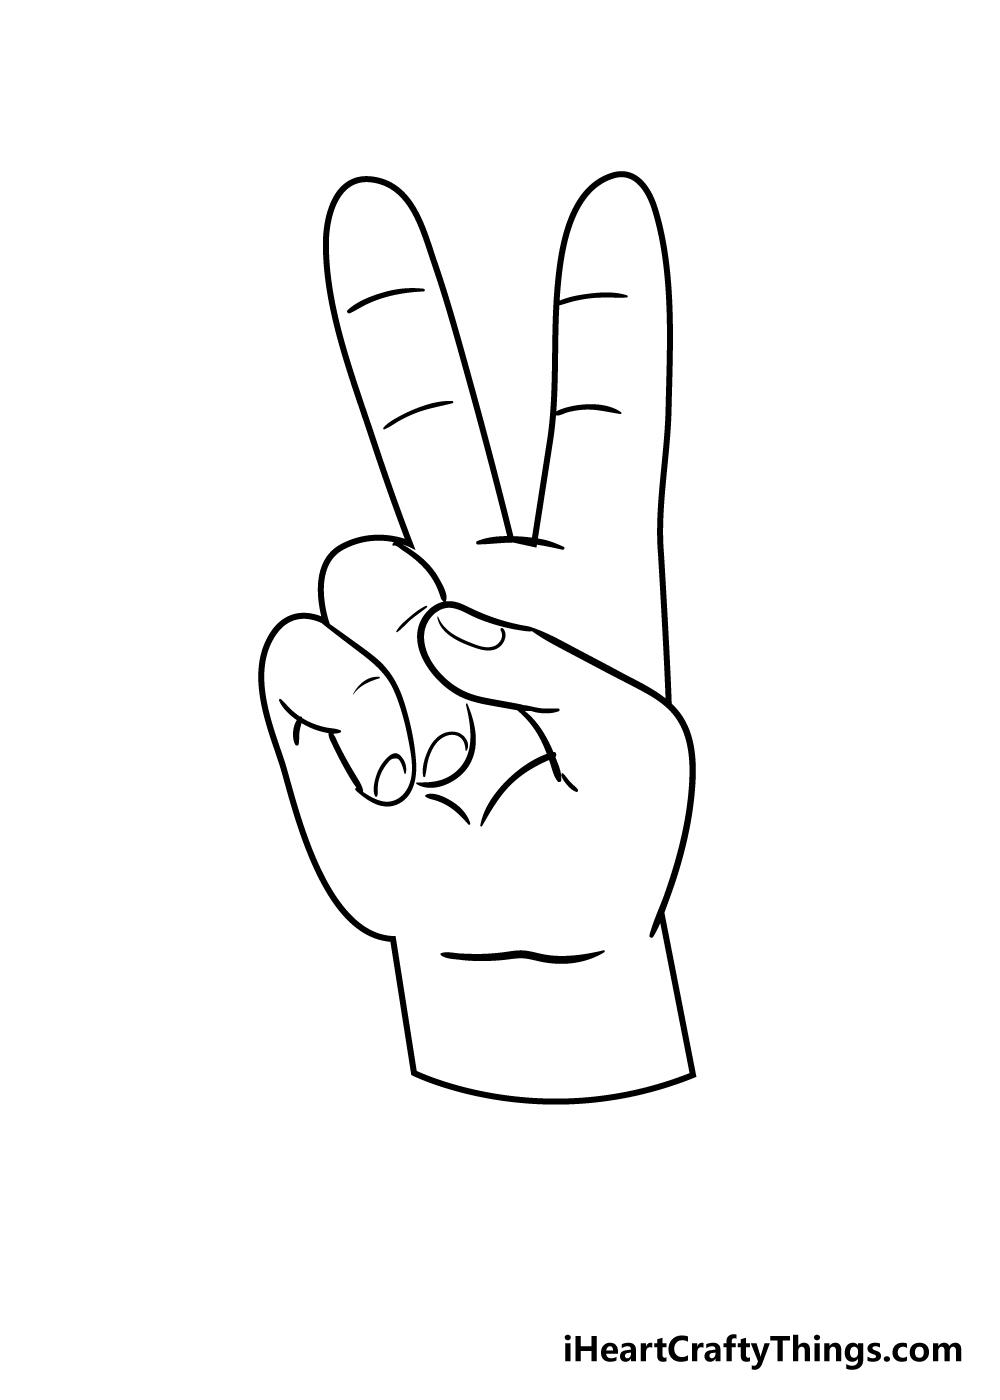
Before you move on to coloring your picture, we have a few more details to add in this step of our guide on how to draw a peace sign.
The main details that you should add are on the fingers to show where the joints are. You can add two lines to the index and middle fingers to do this.
Then, draw another line at the point that these two fingers meet.
You can then finish off this step by adding more small lines to the knuckles of the two bent fingers and on the wrist.
Before you move on, be sure to add any other fun details that you want! Perhaps you could draw on some jewelry or get creative by decorating the hand with some 60's inspired patterns.
How will you personalize your peace sign drawing?
Step 6 – Finish off your peace sign drawing with some color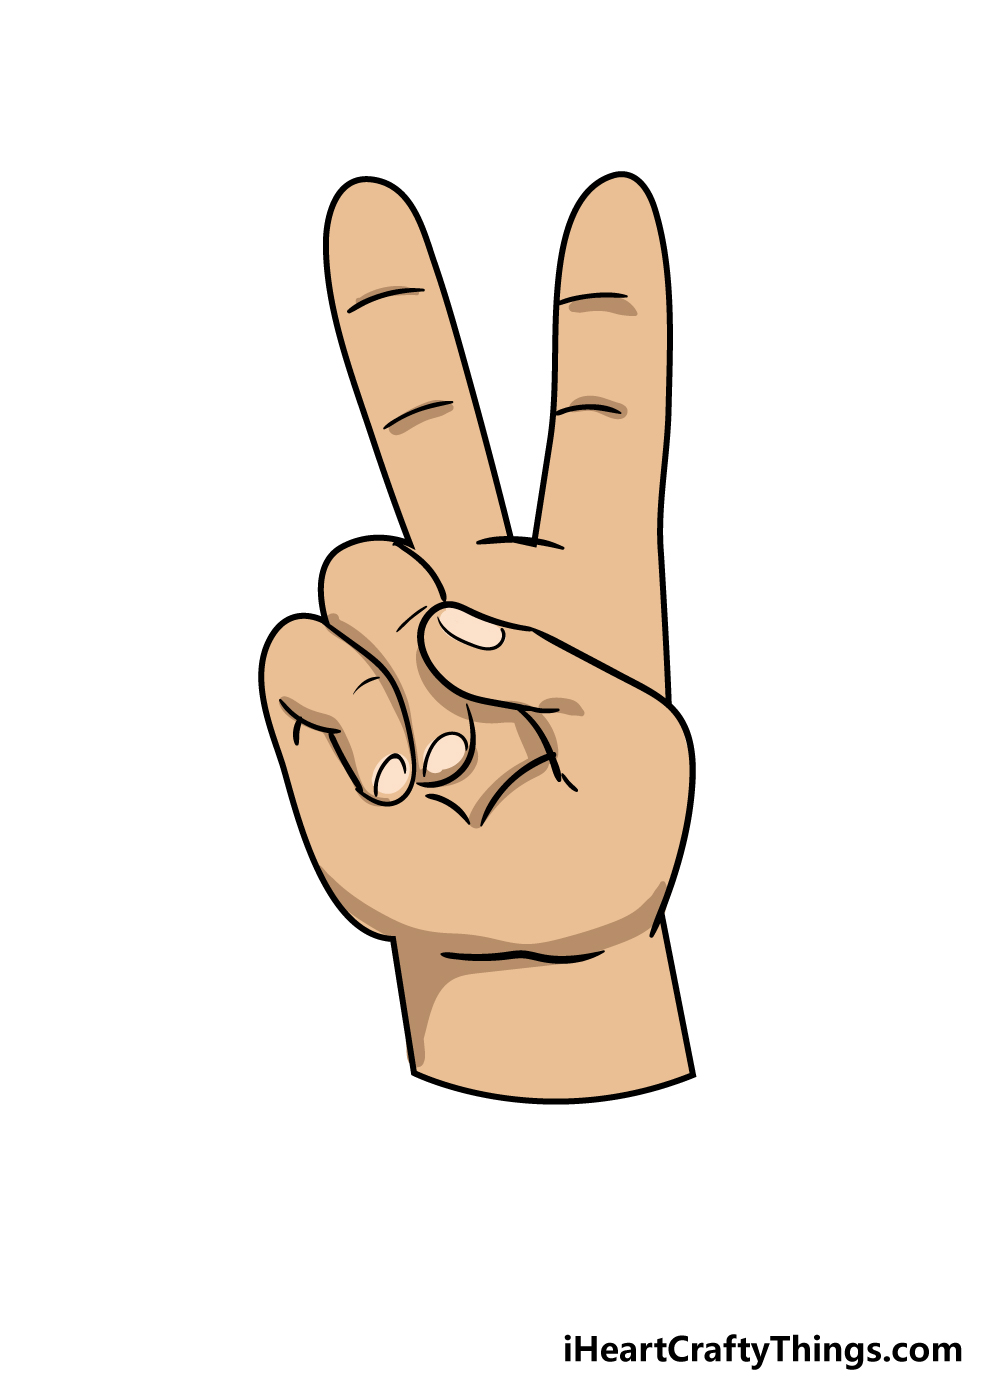
Now that you have finished creating your peace sign drawing, it's time to color it in! You have many options to consider when doing this, so be sure to let your creativity flow!
You could go with some more realistic skin tones if you wish, and you could use your own hand as a color reference!
You could also go more stylistic with it by using some of your favorite bright colors to create a more psychedelic look.
Once you know what colors you would like to use, there's still the fun of choosing an art medium!
Whether you go with some bright acrylics and colored pens or create a more subtle look with watercolors, we know your image will look amazing!
Your Peace Sign Drawing is Complete!
You should be extra proud of getting to the end of this guide on how to draw a peace sign! As we touched on a few times throughout this guide, drawing hands is always a challenge.
However, when you have some steps to follow and take it slowly you will usually find that it is much easier than you ever would have thought possible!
Now you can really bring this to life with your own touches by adding your own details, colors and art techniques.
There is more drawing fun to suit every taste and skill level on our website, and it's all free for you to enjoy!
We also upload new guides very often, so be sure to check in every day to never miss out.
We would love to enjoy some peaceful art by enjoying your peace sign drawing! You can let us see by sharing your picture on our Facebook and Pinterest pages.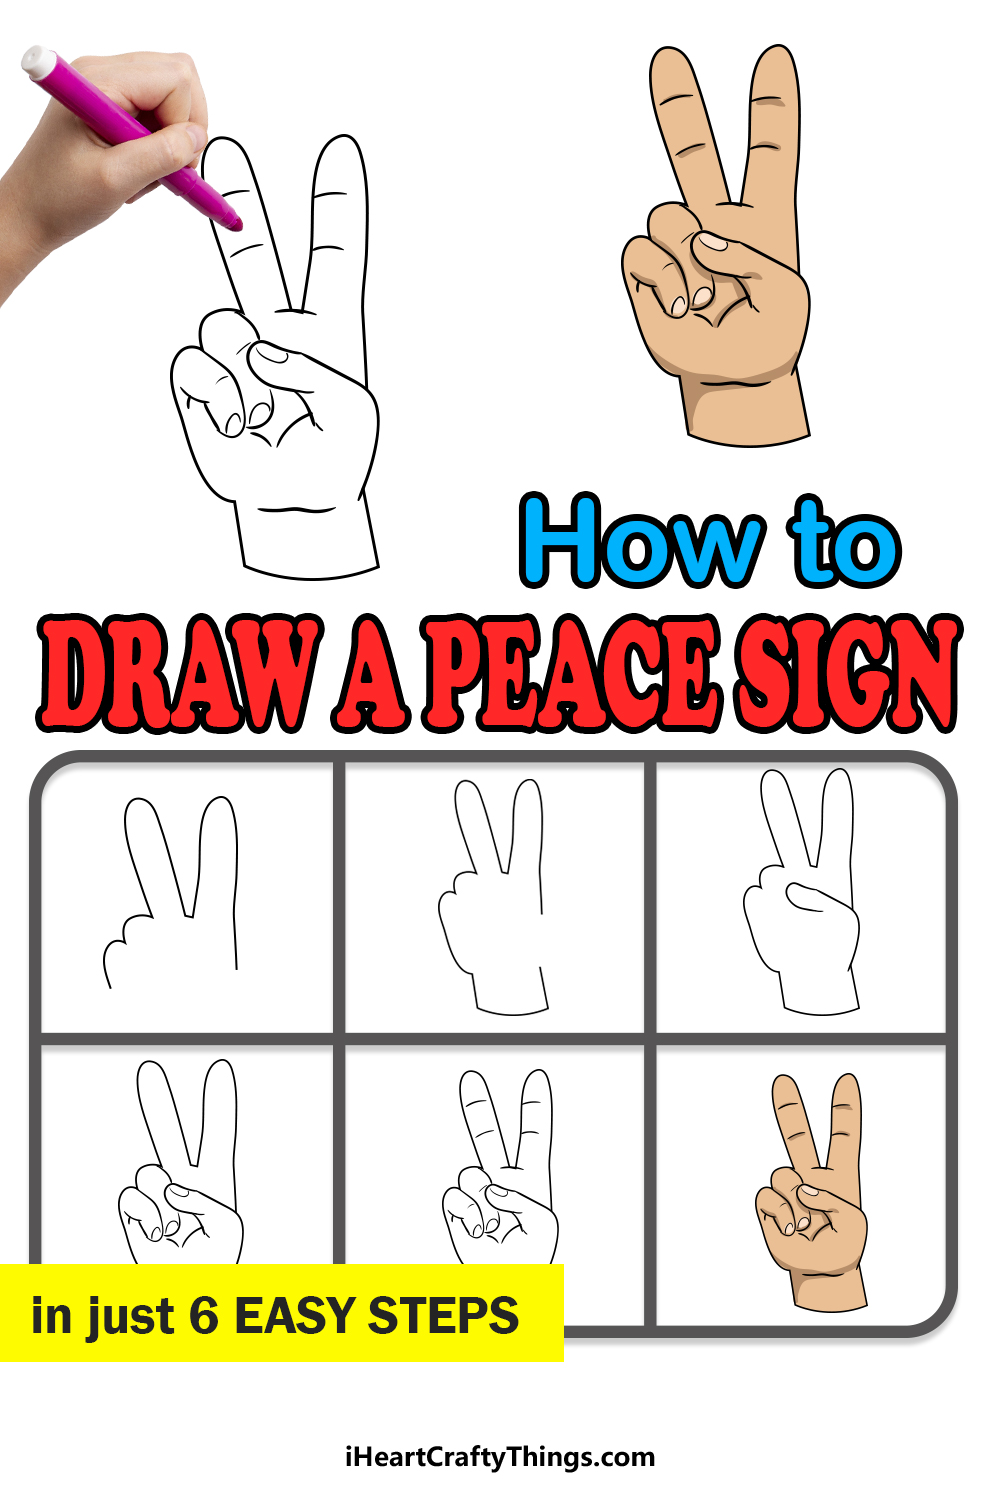
how to draw a peace sign
Source: https://iheartcraftythings.com/peace-sign-drawing.html
Posted by: mcnewnont1962.blogspot.com

0 Response to "how to draw a peace sign"
Post a Comment